France
 Australia
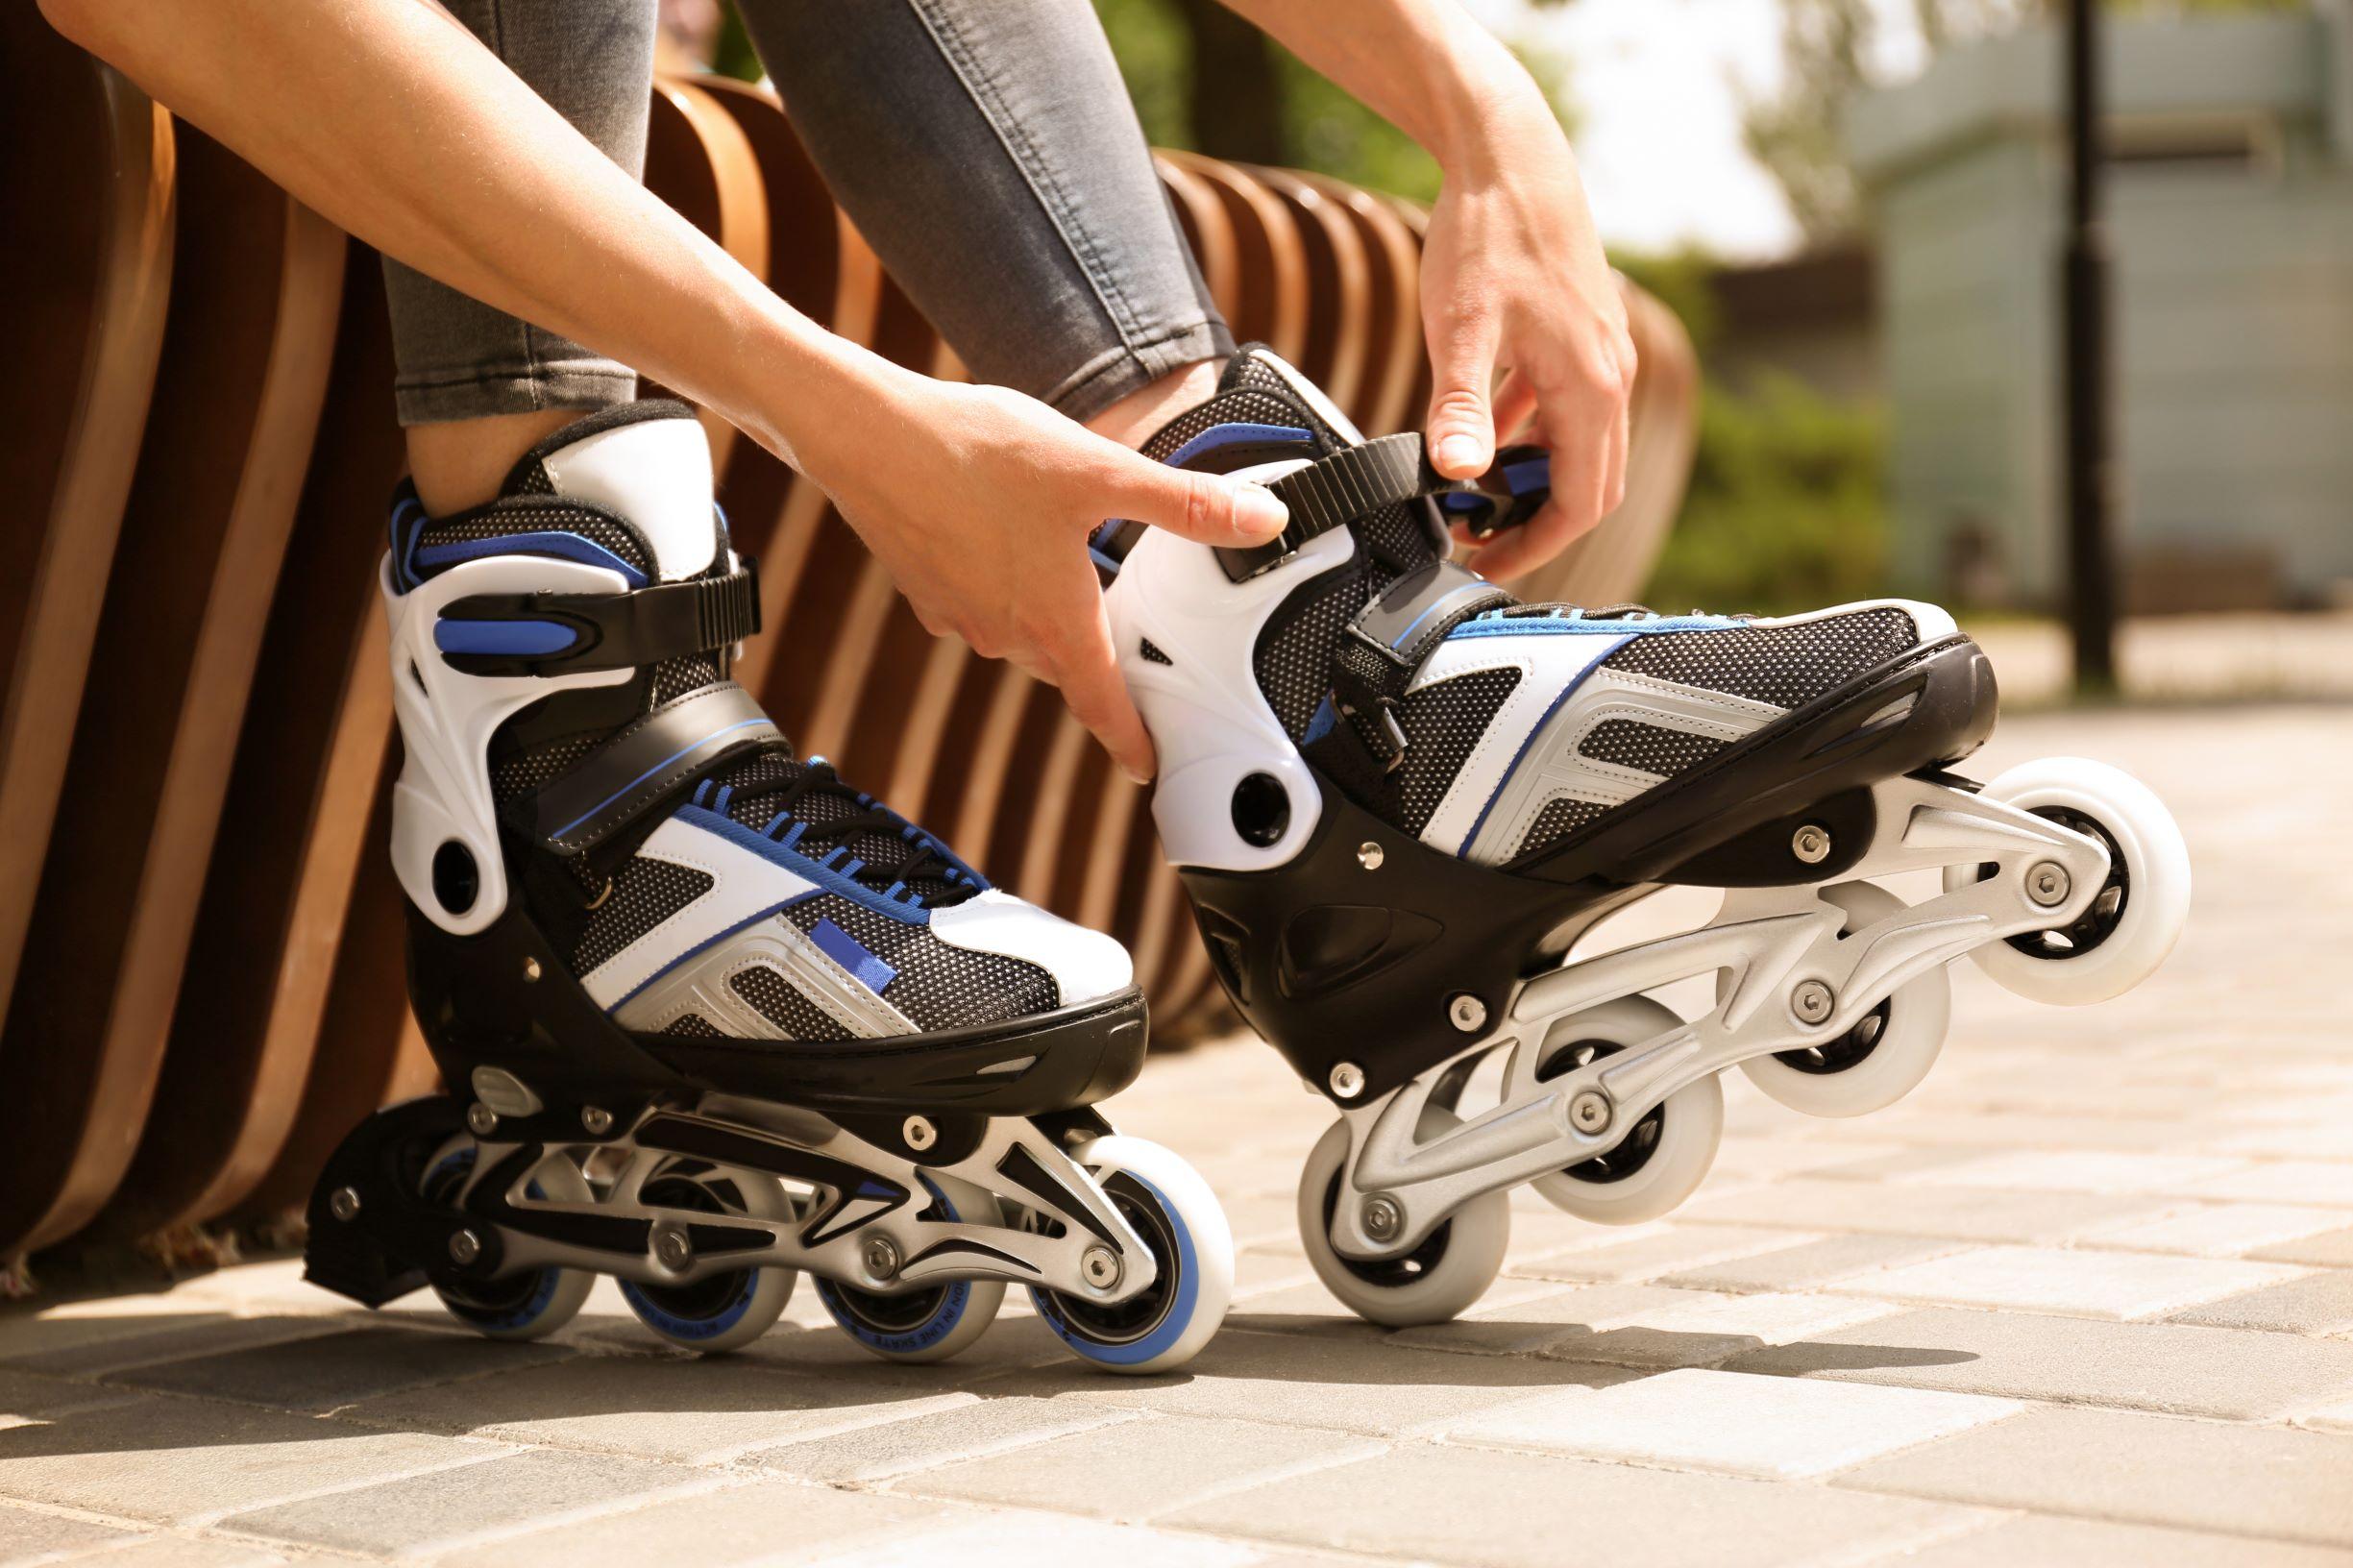
Key Takeaways
- Some of the most common injuries that occur when inline skating are fractures and sprains
- There are many ways to reduce your risk of injury, such as wearing the right protective equipment or warming up the muscles
- After losing your balance and falling on a hard surface, the RICE method can help treat injuries and speed up recovery
Top Products in This Article


Over the last several years, inline skating has seen a surge in popularity. Most inline skating injuries happen when a skater loses balance and falls on a hard surface. Skaters who wear protective equipment are less likely to be injured.
Learn how you can better protect yourself from serious injuries while skating with these 5 tips and stretches!
- What are common inline skating injuries?
- 5 Safety Tips to Avoid Injuries
- 5 Stretches Before Putting on Skates
- How can I treat my injuries?
- Conclusion
What are common inline skating injuries?
Some of the most common injuries that occur when inline skating are wrist and hand injuries. Making up 37% of all inline skating injuries are wrist injuries, of which two-thirds are wrist fractures. Head injuries make up another 5% of inline skating injuries.1
When a person loses their balance and falls, the immediate instinct is to put their hands out to catch themselves. This is good because it protects the more important head and face. But it can also result in serious injury to the hand or wrist from the force of the impact.
Another common injury are blisters. Blisters usually occur from not having the proper size skates on. They might fit too tight or too loose. Check out Quick Blister Prevention & Treatment for Athletes!
Other injuries such as bruises, scrapes, and cuts frequently occur due to people falling without wearing the proper protection. Learn how to take care of these wounds with 7 Easy Steps to Care for Cuts & Scrapes.

5 Safety Tips to Avoid Injuries
Inline skating is fun activity to improve muscle strengthening and toning. It provides a great low-impact aerobic workout and even helps improve posture. However, it is not without serious safety risks, most often affecting the wrist, ankle, and head. Fortunately, there is a wide range of safety precautions you can take to avoid trips to the emergency room.
1. Check and maintain your skates regularly. Examine the condition of the wheels, bearings, axles, nuts, and heel brakes. Your skates must always be in good condition to use.
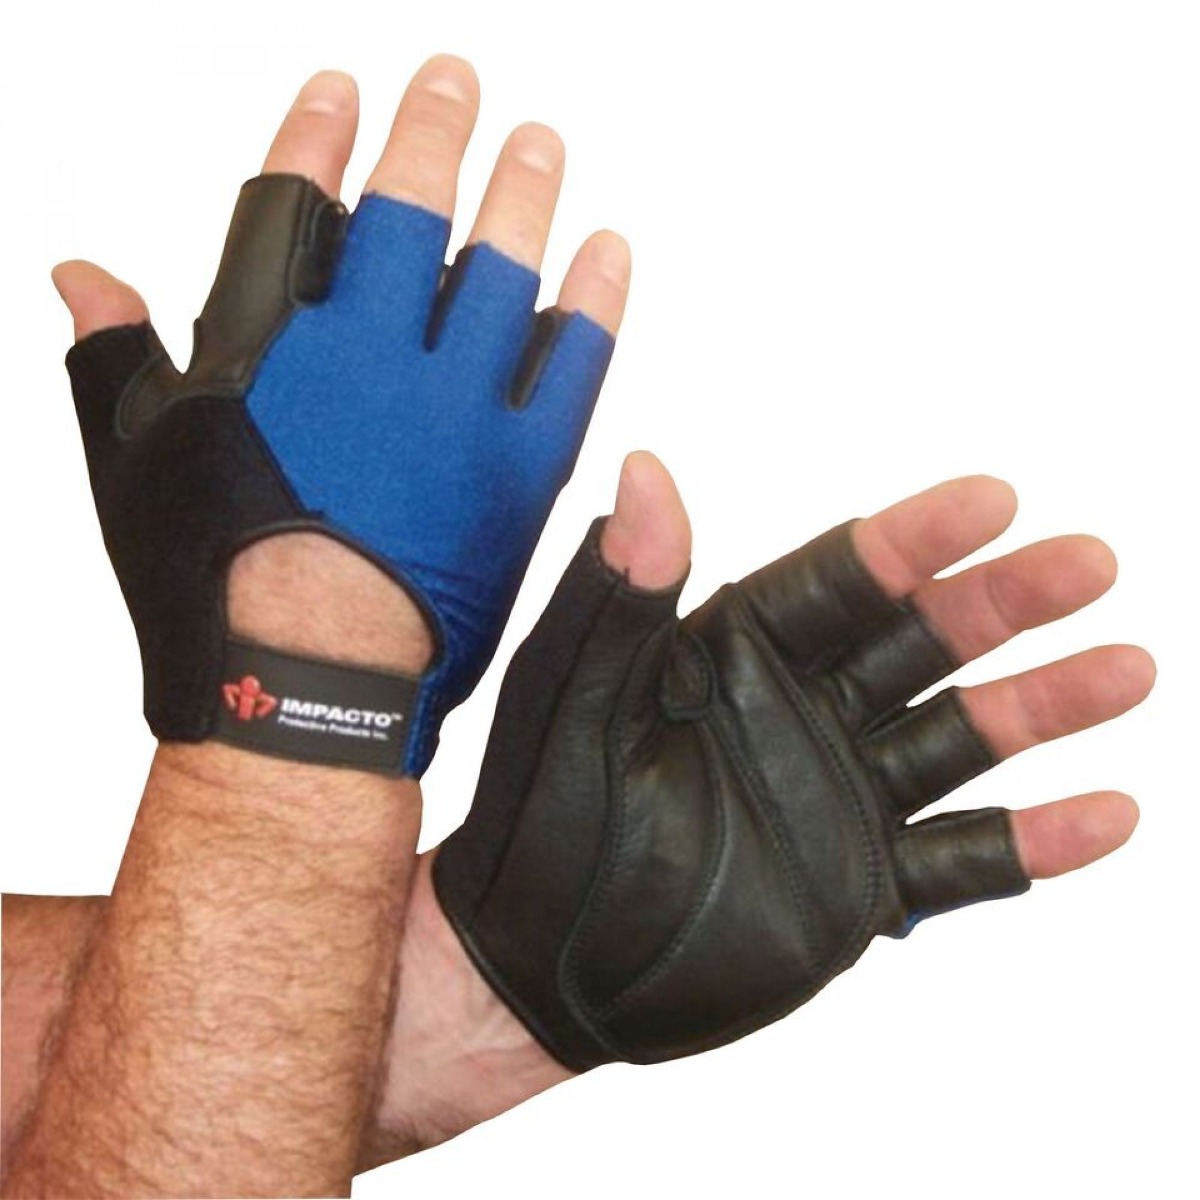
2. Wearing proper safety equipment is essential to skate safety. Your protective gear must include a helmet, wrist guards, elbow pads, and knee pads.
Elbow and knee guards protect your extremities from scrapes, cuts, bruising, and road rash. Gloves protect your hands when you need to catch yourself from falling. Lastly, the helmet protects your head from severe injury in case of a fall.

3. Make sure you have the proper size skate. Check that it doesn’t cause any pressure on the top of the foot. Most blisters come from the boot putting too much pressure on your foot.
4. If you begin to lose your balance, know how to fall. Crouch down to minimize the height of the fall, cover your head, tuck in your elbows, and roll onto the softer parts of your body. Never extend your hands or fall on your knees.
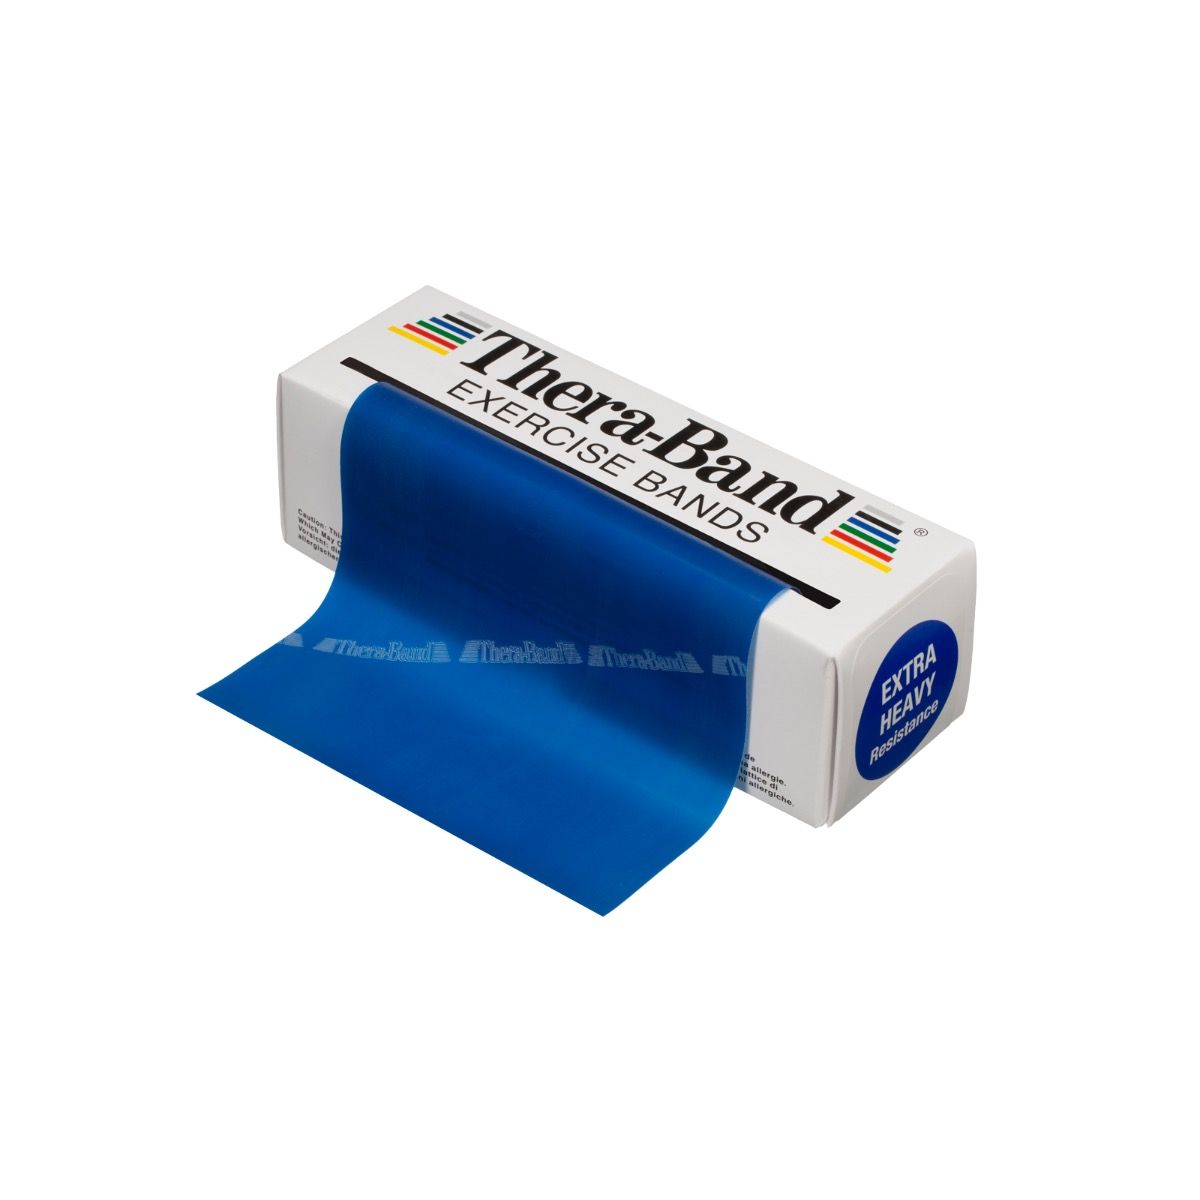
5. Each time you head out, warm up with a gentle 5-minute stretching routine. Warming up can help to loosen your muscles, tendons, and ligaments and help prevent tears.
5 Stretches Before Putting on Skates
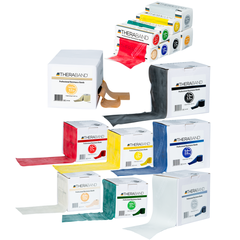
A less common roller-skating injury, but one that can still occur are muscle strains. Before you put your skates on, do a gentle stretch for 5-10 minutes to loosen the body. To help improve flexibility in the joints and muscles, use a resistance band!
Inner Thigh Stretch
- Lie on the floor and loop the resistance band around the right foot.
- Grab onto the band in the right hand to create tension.
- Gently lower the right leg out to the side and towards the floor until you feel a stretch in the inner thigh.
- Hold for 15 - 30 seconds. Switch legs and repeat.
Lying Hip Stretch
- Lie on the floor and loop the resistance band around the right foot.
- Grab onto the band with the opposite hand to create tension.
- Straighten the left leg out on the floor and gently lower the right leg across the body and to the left. Go as low as you can go, feeling a stretch in the right hip and glute.
- Hold for 15 - 30 seconds. Switch legs and repeat.
Upper Back Stretch
- Sit on the floor with legs extended and loop a resistance band around both feet.
- Cross the band and grab on to each side with both hands close to the feet.
- Gently curl the back, stretching it towards the back of the room. Use the band to create tension and add to the stretch.
- Engage the abs and do not collapse over the legs. Feel your shoulder blades spread open while you aim with your chest toward your feet.
- Hold for 15-30 seconds before relaxing.
Kneeling Quad Stretch
- Sit on the floor with the right leg bent in front of you, left leg bent behind you.
- Loop the resistance band around the top of the left foot.
- Lean to the right on the forearm and use the band to gently pull the heel towards the glutes to stretch the front of the thigh.
- Squeeze the glutes for a deeper stretch. Hold for 15-30 seconds. Return to starting position and repeat on the opposite side.
Hamstring Stretch
- Lie on the floor with your legs extended in front of you. Loop a resistance band around the ball of one foot.
- Raise your leg by pulling the band toward you while keeping the knee straight.
- Pull it until you feel a stretch in the hamstring. Hold for 15-30 seconds. Lower the leg back down to the floor and switch to the opposite side.
Watch this video for more stretches using a resistance band!
How can I treat my injuries?
Skating injuries are usually caused by sudden twists or loss of balance. Fractured or broken wrists are most common amongst skaters. In attempt to break their fall, skaters will put out their hand while landing onto a hard surface. Falling onto the wrist can also lead to forearm and finger fractures as well as shoulder injuries.
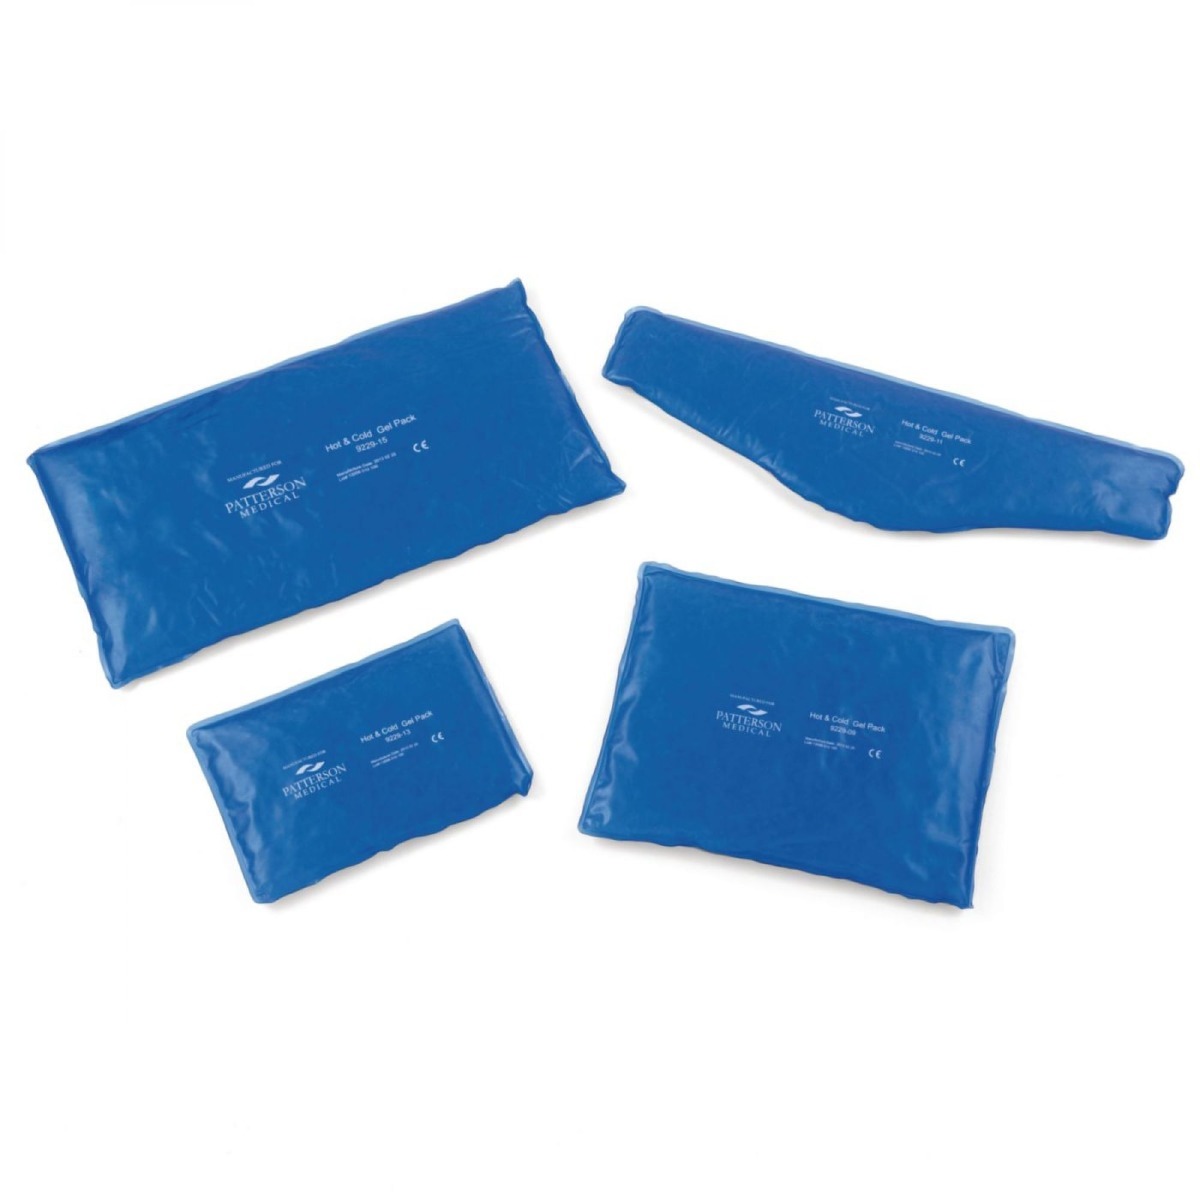
While more serious injuries may require a trip to an immediate care facility or ER, ff the damage is minor and causes only mild pain, then rest, and applying cold therapies are an excellent way to heal.
What is the R.I.C.E Method?
- Rest – Avoid use of the affected area for 24 - 48 hours
- Ice - Apply a cold pack for 20 minutes every two hours, without touching the skin directly
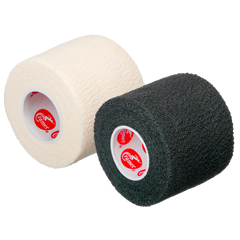
- Compression - Wrap the affected area with a compression bandage to provide support and added stability following an injury
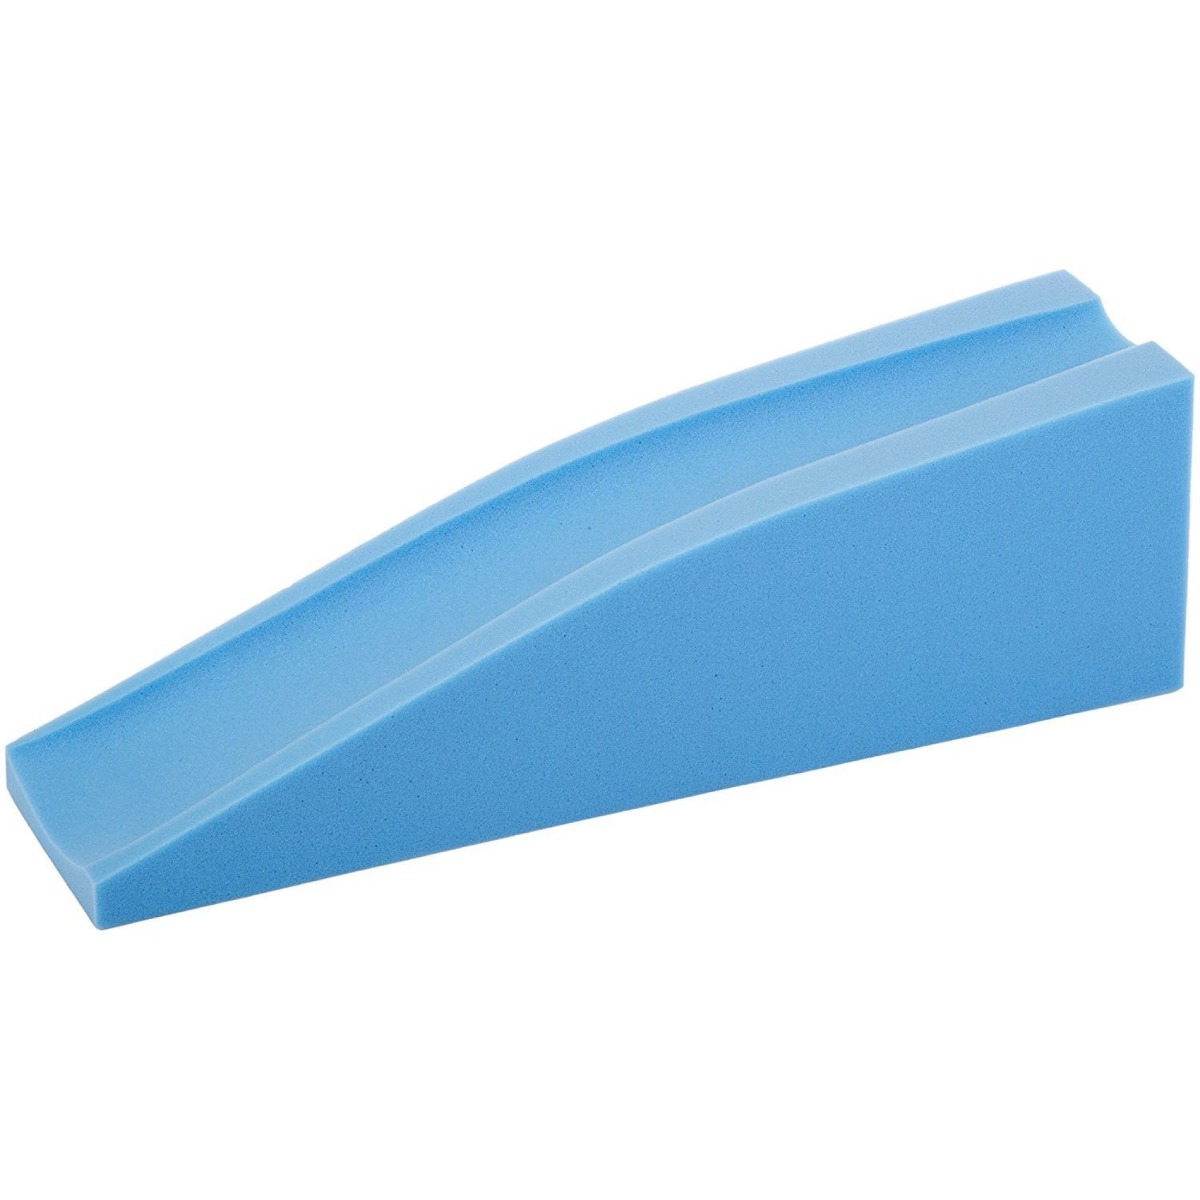
- Elevate - Keep the affected area raised above your heart to reduce pain and swelling. To help rest the leg at a gradually elevated height, use a foam wedge
The R.I.C.E Method is most useful for mild to moderate injuries such as sprains, bruises, and other soft tissues injuries. Begin immediately after injury and continue treatment for the next 24–48 hours.
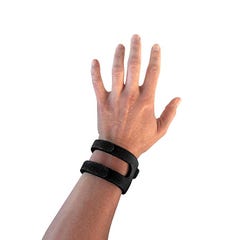
Prevent and Treat Injuries with Braces
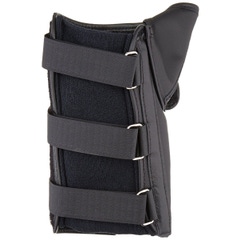
Braces help support and promote proper function and movement as well as prevent further injury. Sprains, muscle strain, or tendon tears should always be taken seriously, and the affected area should have brace support to prevent further injury. More traumatic injuries from inline skating may sometimes require splints, casts, and even surgeries.
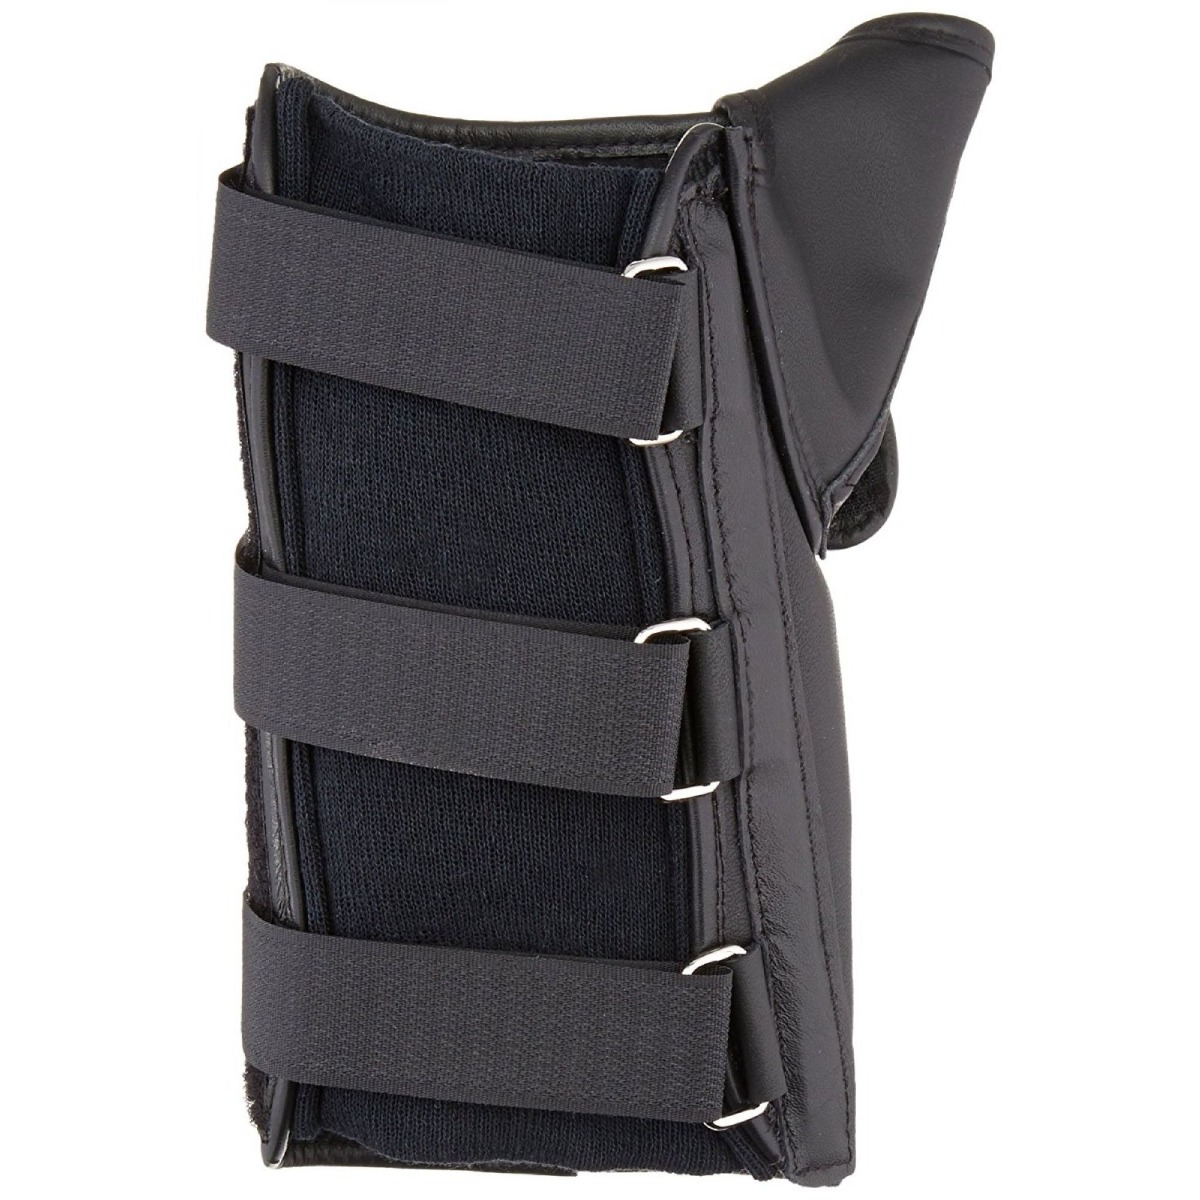
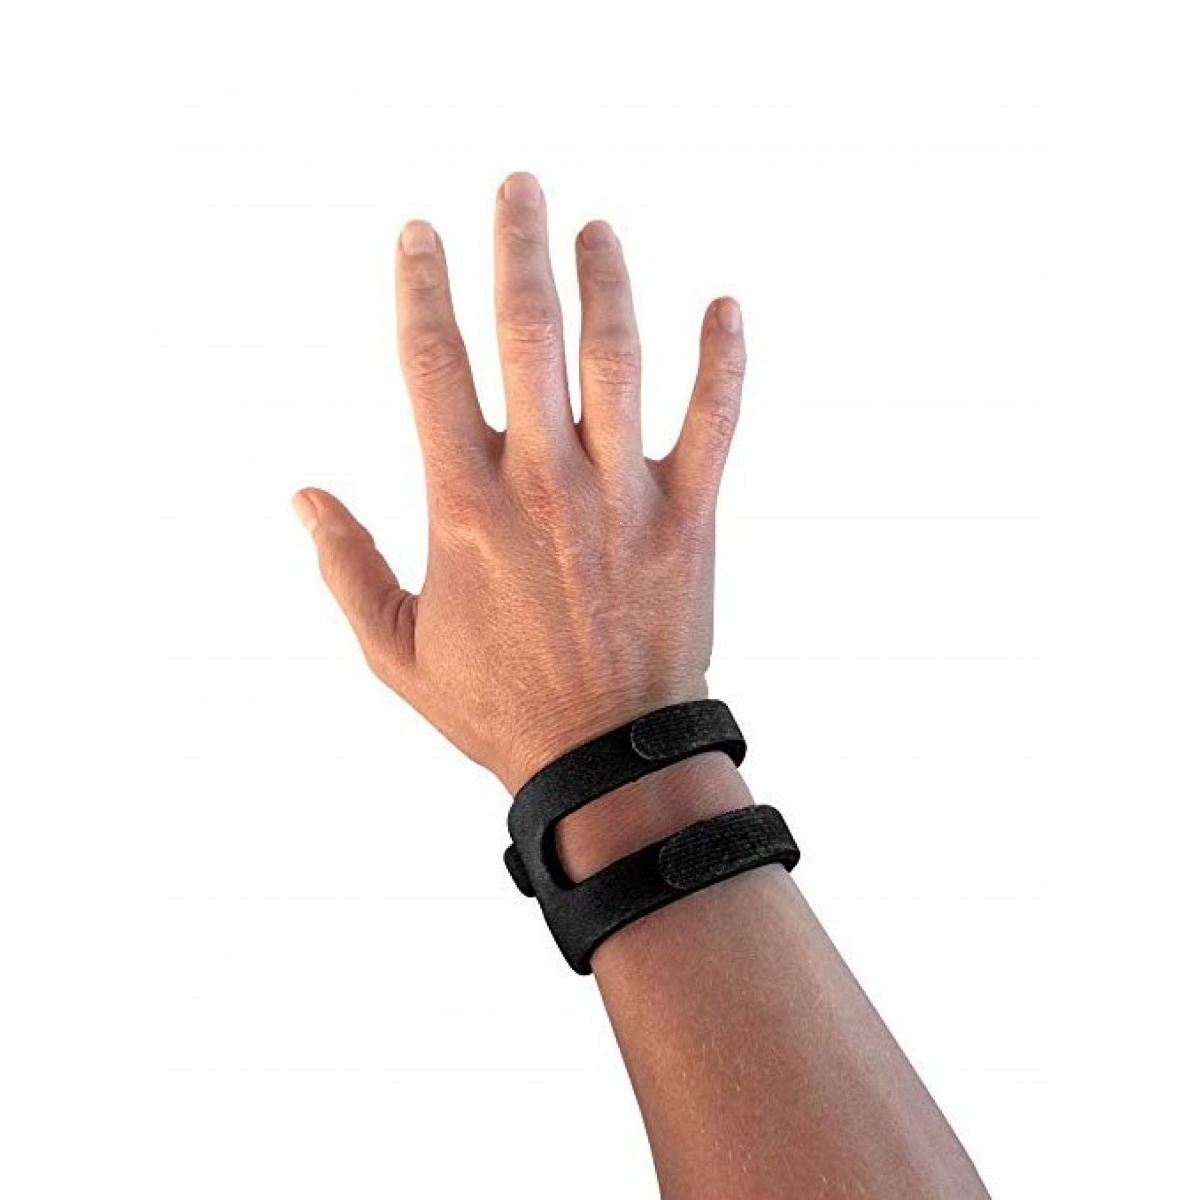
A wrist brace can help to immobilize the area or provide flexible support for those suffering from weak, sprained, or injured wrists. Simply wrap the brace around your hand and wrist to provide stability and support with mild to moderate compression. The WristWidget holds the wrist stable to limit rotation and promote faster healing.
Conclusion
Many inline skating injuries are preventable if you follow these safety tips:
- Wear protective gear such as knee pads, elbow pads, and helmets to ensure that injuries are minimized.
- Make sure the skates fit correctly, not too tight and not too loose. They must also be in good condition for use.
- Warm-up with a gentle stretch to loosen the muscles, tendons, and ligaments.
References
1. Camilla. (2021). Roller Skating 101: Avoid Common Injuries and Fall Safety. Healthpointe. Retrieved from https://bit.ly/3tKKJ8e
2. Geier, David. (2019.) Inline Skating Injury Prevention. Stop Sports Injuries. Retrieved from https://bit.ly/3ffgz7L
3. Healthwise Staff. (2020). Rest, Ice, Compression, and Elevation (RICE). University of Michigan: Michigan Medicine. Retrieved from https://bit.ly/3hoQVA4
Medical Disclaimer: The information provided on this site, including text, graphics, images and other material, are for informational purposes only and are not intended to substitute for professional medical advice, diagnosis or treatment. Always seek the advice of your physician or other healthcare professional with any questions or concerns you may have regarding your condition.