How to Install Laravel PHP Framework with Apache 2 on Ubuntu 22.04
This tutorial exists for these OS versions
- Ubuntu 22.04 (Jammy Jellyfish)
- Ubuntu 20.04 (Focal Fossa)
- Ubuntu 18.04 (Bionic Beaver)
- Ubuntu 16.04 (Xenial Xerus)
On this page
Laravel is a web application framework based on PHP for building enterprise web applications. It's a free and open web framework that follows model-view-controller (MVC) architecture and is based on Symfony. it provides elegant syntax that allows you to create applications with clean code and is easy to read and understand.
Laravel is an enterprise-grade web framework for building enterprise and robust full-stack web applications. Laravel applications can be delivered fastly without headaches, from the development process to the production.
Pairing the Laravel web framework with another framework such as React or Vue allows you to create a beautiful and interactive frontend. Also, its supports multiple databases including MySQL, PostgreSQL, SQLite, and SQL Server. Laravel also provides scaffolding for secure authentication.
In this tutorial, you will learn how to install the Laravel on the latest Ubuntu 22.04 LTS. This will also include how to set up the LAMP Stack for the Laravel development.
Prerequisites
- An Ubuntu 22.04 machine. This example uses the Ubuntu server.
- A non-root user with sudo administrator privileges, or you can also use the root user.
Installing Apache Web Server
in this first step, you will be installing the Apache2 webserver to your Ubuntu system. In this example, you will be running the Laravel web framework with the Apache webserver.
Now run the apt command below to update and refresh your Ubuntu repository.
sudo apt update
Next, install the Apache2 web server package using the following command.
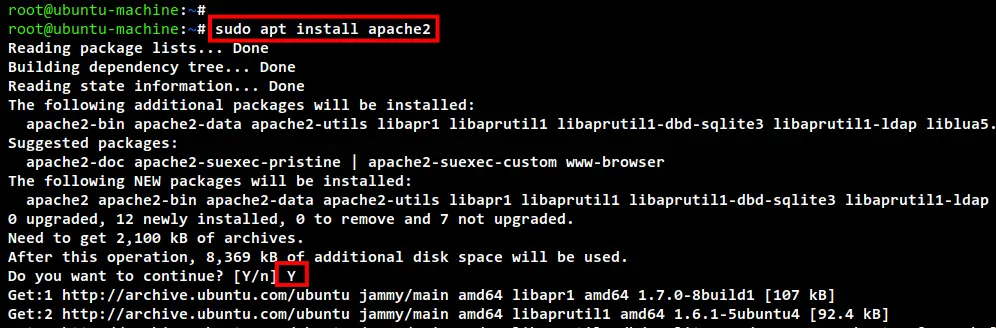
sudo apt install apache2
Input Y to confirm and press ENTER to start the installation. The Apache web server installation will begin.
After Apache2 installation is completed, you will need to add the HTTP and HTTPS services to the UFW firewall.
Run the ufw command below to add the HTTP and HTTPS services to the UFW firewall.
sudo ufw allow "Apache Full"
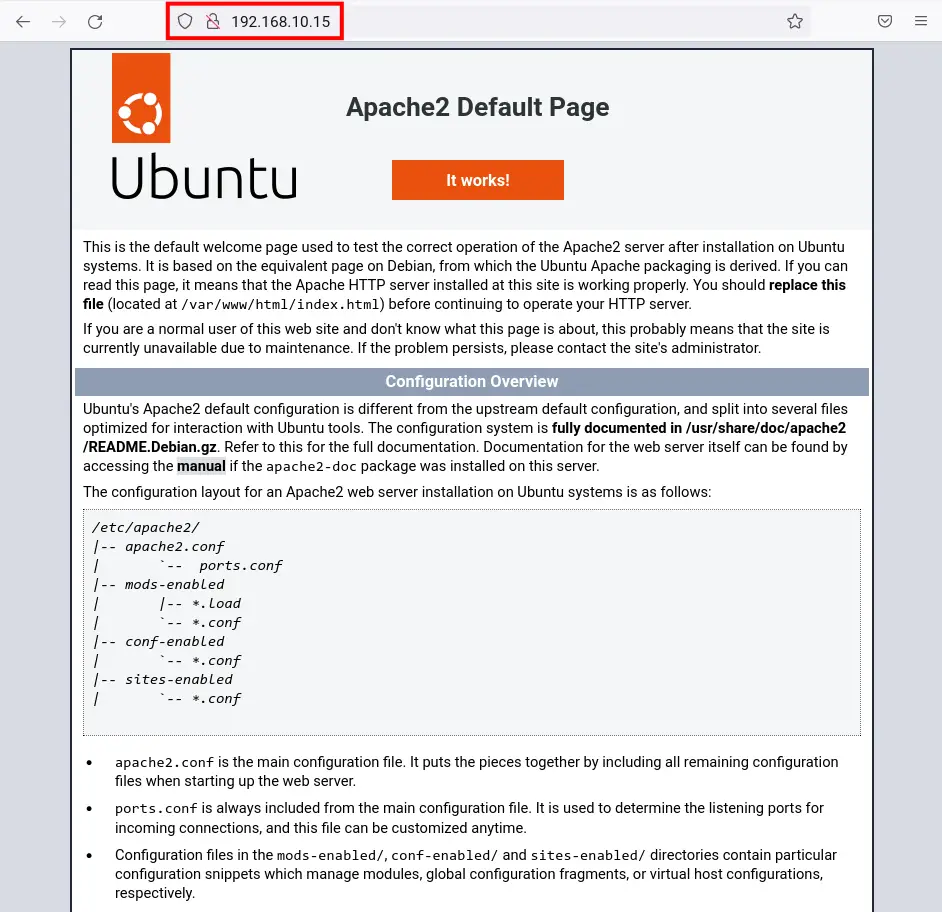
Lastly, open your web browser and input the server IP address on the address bar (for e.g http://192.168.10.15). Now you should see the default index.html page of the Apache2 web server.
Installing PHP 8.1
After the Apache web server installation, you will install and configure PHP on the Ubuntu 22.04 machine. The default Ubuntu 22.04 repository, provides the PHP package v8.1, and it's well supported for the Laravel web framework.
RUn the apt command below to install PHP packages for the Laravel web framework.
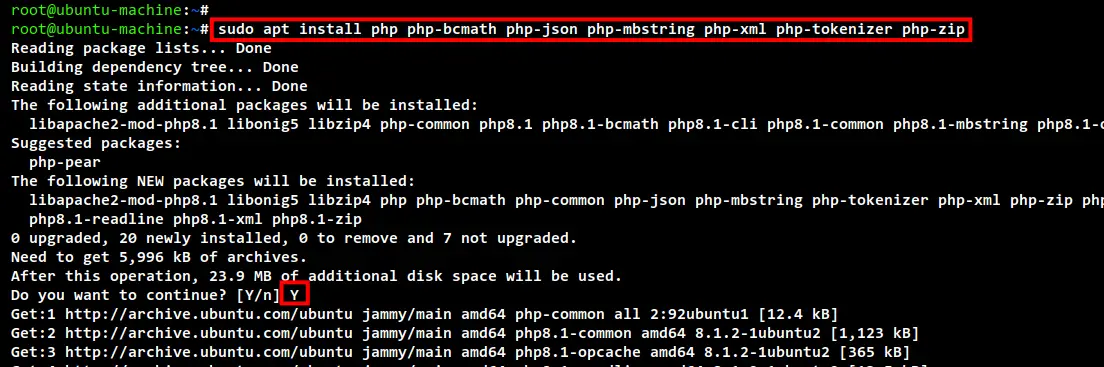
sudo apt install php php-curl php-bcmath php-json php-mbstring php-xml php-tokenizer php-zip
Input Y to confirm the installation and press ENTER to continue. The PHP installation will begin.
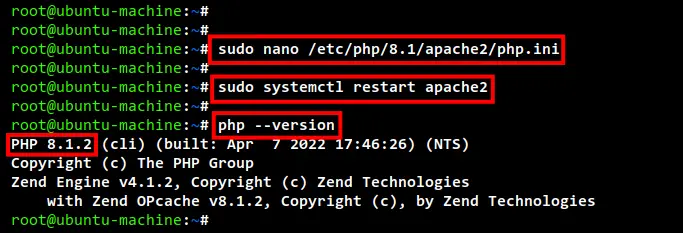
Now after PHP installation is completed, edit the configuration php.ini using nano editor.
sudo nano /etc/php/8.1/apache2/php.ini
Uncomment the following options to enable PHP extensions fileinfo, openssl, and mbstring.
extension=fileinfo
extension=mbstring
extension=openssl
Save and close the file when you are done.
Next, restart the Apache2 service to apply new changes to your PHP configuration.
sudo systemctl restart apache2
Lastly, test and verify your PHP configuration by running the following command.
Check the PHP version installed on your Ubuntu machine.
php --version
In the below screenshot, you can see that PHP 8.1.2 is installed on the Ubuntu machine.
Check all enabled extensions on your PHP environment.
php -m
Installing MariaDB Server
You have now installed the Apache2 web server and PHP packages. Now you will be installing and configuring the MariaDB database server on the Ubuntu 22.04 machine. You will also be creating a new MariaDB database and user for the Laravekl project.
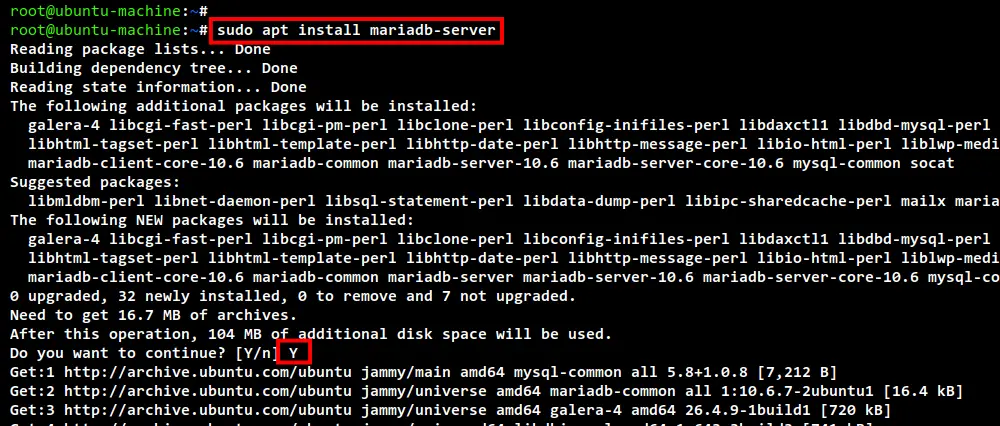
To install the MariaDB database to the Ubuntu machine, you can run the apt command below.
sudo apt install mariadb-server
Input Y to confirm and press ENTER to start the installation.
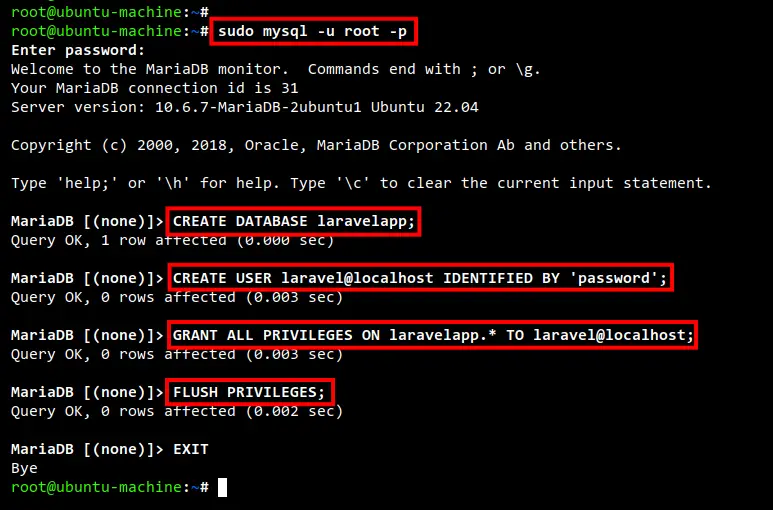
After the MariaDB installation is completed, log in o the MariaDB shell as the root user using the below command.
sudo mysql -u root -p
Now run the below mariaDB queries to create a new database and user for the Laravel project. In this example, you will be creating the database laravelapp with the user laravel and the password is "password".
CREATE DATABASE laravelapp;
CREATE USER laravel@localhost IDENTIFIED BY 'password';
GRANT ALL PRIVILEGES ON laravelapp.* TO laravel@localhost;
FLUSH PRIVILEGES;
Now run the query "EXIT" to log out from the MariaDB shell. You have now installed the MariaDB database server and created a new database and user for the laravel project.
Installing Composer
In this section, you will be installing the Composer. It's a package manager for PHP programming language, it is like pip on Python, the gem on Ruby, npm, or yarn for Node.js.
The Laravel web framework can be installed in many ways. In this example, you will be installing the Laravel web framework using Composer.
Now run the below command to download the installer for Composer.
curl -sS https://getcomposer.org/installer -o composer-setup.php
Now run the installer script "composer-setup.php" to install the Composer. This will install the Composer to the directory /usr/local/bin directory.
php composer-setup.php --install-dir=/usr/local/bin --filename=composer
Below is the screenshot when installing the Composer.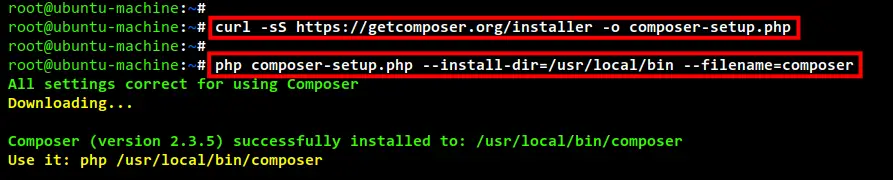
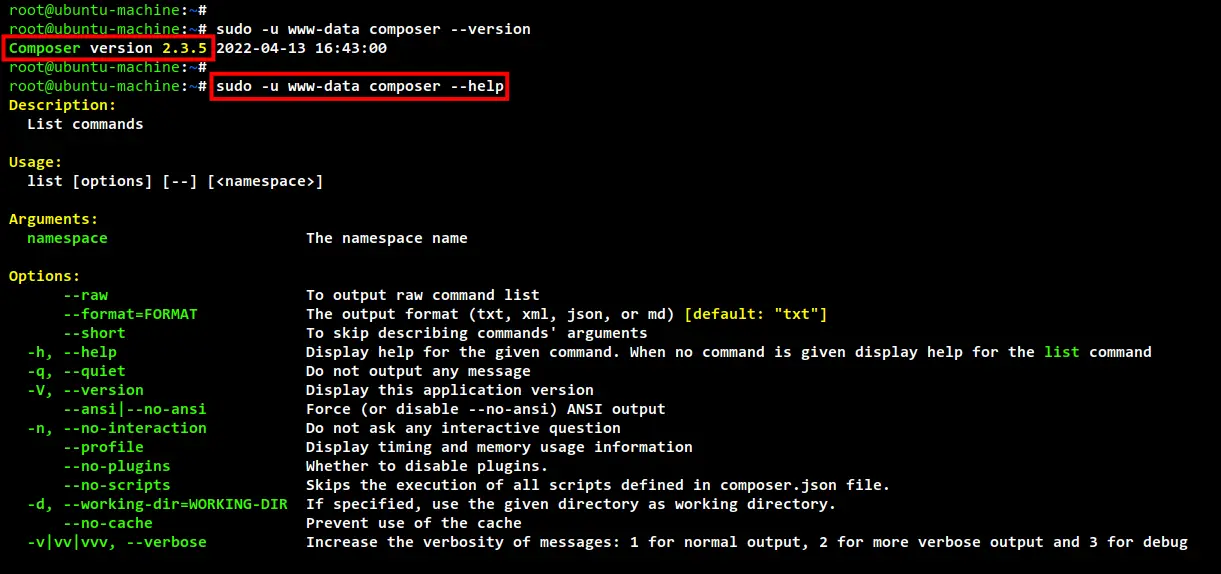
Now after installation is completed, run the below command to check and verify the Composer installation.
Check the version of Composer.
sudo -u www-data composer --version
Show the help contents of Composer.
sudo -u www-data composer --help
Now you are ready to start the Laravel installation.
Start Installing Laravel
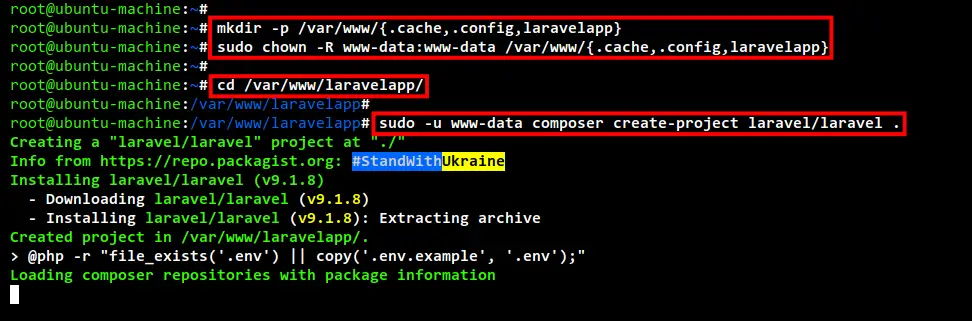
Before starting installing Laravel, let's create new directories for the Laravel project.
In this example, you will create three directories, ".cache" for storing the cache of PHP packages, the directory ".config" for storing the additional configuration of Composer, and the directory "laravelapp" for the Laravel project itself. All of those directories will be available under the "/var/www
" directory.
Run the below command to create new directories for the Laravel installation.
mkdir -p /var/www/{.cache,.config,laravelapp}
Now change the ownership of the Laravel and Composer directories to the user and group www-data.
sudo chown -R www-data:www-data /var/www/{.cache,.config,laravelapp}
Next, move to the /var/www/laravelapp directory using the following command.
cd /var/www/laravelapp/
Then install the Laravel web framework using the composer command below. The dot at the end of the command will install the Laravel on the current working directory /var/www/laravelapp.
sudo -u www-data composer create-project laravel/laravel .
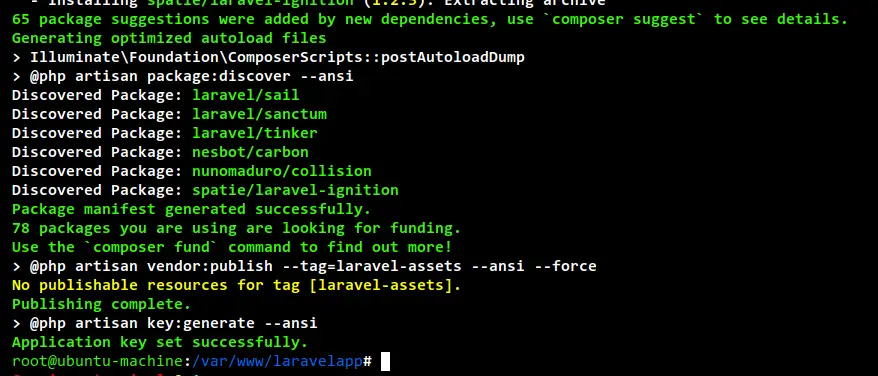
Below is the screenshot of the Laravel installation process.
And below is the result after the Laravel installation is completed.
Next, after the installation is completed, edit the file ".env" using nano editor. This configuration is the main environment configuration for Laravel, which includes the URL of the installation, database details, etc.
nano .env
Change the APP_URL config with your domain for the Laravel installation. In this example, the laravel will be running on the domain name laravelapp.hwdomain.io.
APP_URL=http://laravelapp.hwdomain.io
Now change the database details with your database configuration.
DB_CONNECTION=mysql
DB_HOST=127.0.0.1
DB_PORT=3306
DB_DATABASE=laravelapp
DB_USERNAME=laravel
DB_PASSWORD=password
Save and close the file when you are done.
You have now completed the Laravel web framework installation with the MariaDB database server.
Setup Apache Virtual Host
Now it's time to set up the Apache2 virtual host for the Laravel web framework. In this example, the Laravel project will be running on the local domain laravelapp.hwdomain.io.
Create a new file "/etc/apache2/sites-available/laravel.conf" using nano editor.
sudo nano /etc/apache2/sites-available/laravel.conf
Add the following configuration to the file. If you are using your domain name, you can change the domain. Also, be sure to change the path of the Document root fr the Laravel project.
<VirtualHost *:80>

    ServerAdmin [email protected]
    ServerName laravelapp.hwdomain.io
    DocumentRoot /var/www/laravelapp/public

    <Directory />
            Options FollowSymLinks
            AllowOverride None
    </Directory>
    <Directory /var/www/laravelapp>
            AllowOverride All
    </Directory>

    ErrorLog ${APACHE_LOG_DIR}/error.log
    CustomLog ${APACHE_LOG_DIR}/access.log combined

</VirtualHost>
Save and close the file when you are done.
Next, activate the Apache2 module rewrite and activate the virtual host configuration laravel.conf using the following command.
sudo a2enmod rewrite
sudo a2ensite laravel.conf
Now verify the Apache2 configuration and make sure there is no error.
sudo apachectl configtest
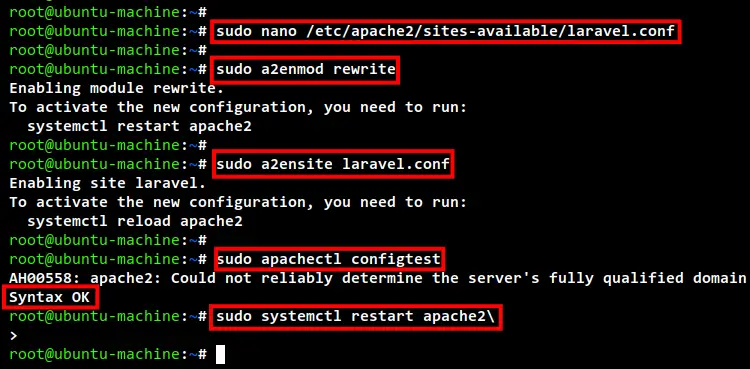
Now restart the Apache2 service to apply a new virtual host configuration for the Laravel project using the below command.
sudo systemctl restart apache2
Now you have completed the Apache virtual host configuration for Laravel.
On your machine, edit the /etc/hosts file using nano/vim editor.
sudo nano /etc/hosts
Add the following configuration. be sure to change the domain name and IP address with your detailed server.
192.168.10.15 laravelapp.hwdomain.io
Save and close the file when you are done.
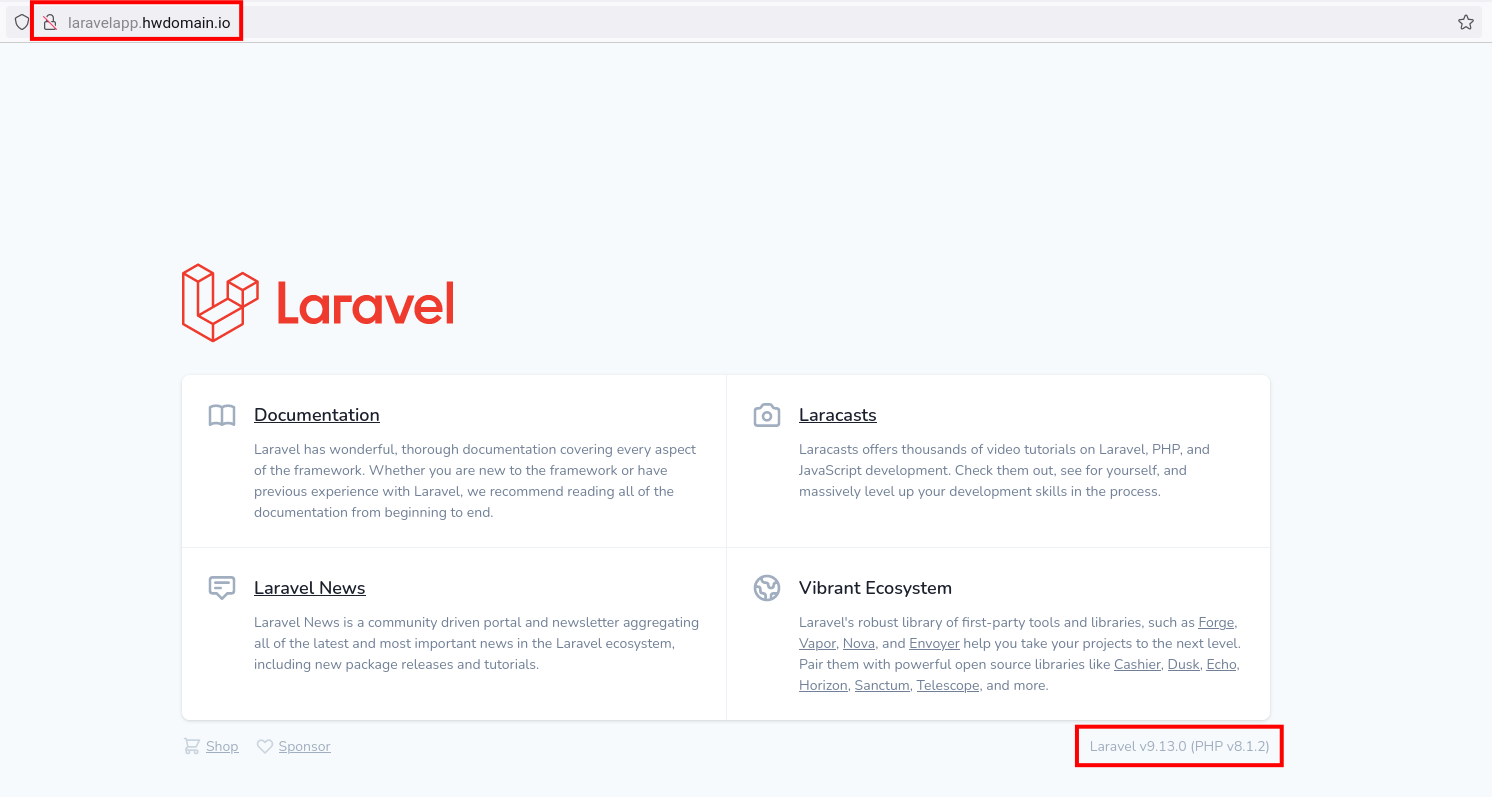
Lastly, back to your web browser and input the laravel installation URL (i.e http://laravelapp.hwdomain.io) on the address bar. And you should see the default index page of the Laravel web framework. Also, at the bottom, you can see the Laravel version that you just installed and the version of PHP that you are currently using.
Conclusion
Congratulation! You have now successfully installed the Laravel web framework on Ubuntu 22.04. You have also learned the basic configuration of LAMP Stack for the Laravel web farmwork.

